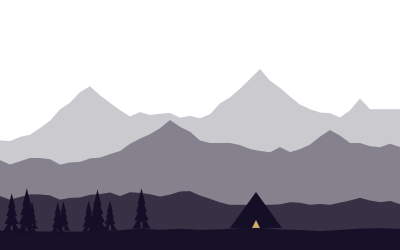
Fog simplifies a landscape: it hides clutter, separates layers and softens light. Knowing when it forms turns lucky encounters into plans.
When fog forms
- Radiation fog: clear, calm nights let the ground cool until air reaches its dew point. It pools in valleys and over rivers and lakes, and usually burns off within a few hours of sunrise. Autumn is prime season.
- Advection fog: moist air moves over cold water or land — the classic coastal fog of California and the Pacific Northwest.
- Steam fog: cold air over warmer water makes mist rise off lakes and rivers on frosty mornings.
A small gap between air temperature and dew point at dawn is a good sign. The dew point calculator shows the spread.
Where to be
- Above the fog: an overlook or summit at sunrise can put you over a sea of clouds.
- Inside it: forests, bridges and lone trees become ghostly silhouettes.
- At the edge, where the sun breaks through and makes rays.
Browse viewpoints and lakes near you, and check the elevation of each spot.
Exposure
Fog is bright and fools the meter into underexposure, turning white mist gray. Add +1 to +2 EV of exposure compensation, and check the histogram — it should sit toward the right without clipping.
Composition tips
- Use layers: objects fade with distance, which creates depth.
- Look for a single strong subject: one tree, a fence line, a boat.
- Backlight makes fog glow and reveals light rays through trees.
- A telephoto stacks distant layers into abstract bands.
Gear tips
Fog is wet. Wipe the front element often, use a lens hood and keep the camera in a bag while you walk. Condensation forms when you bring cold gear into a warm car.
About 1 min read · Updated 2026-10-20